
Rising Deku Practice Guide: Test Combos, Movement and Builds
Use a repeatable Rising Deku training plan to learn anchor control, test combo escapes and compare skill upgrades without assuming an optimal build.
FAQ
Which Rising Deku skill should I level first?
How do I check whether a Rising combo is real?
Should I use Fa Jin in every practice attempt?
What this practice plan establishes
This is a training procedure, not a report of tested matches or a best-build claim. Its purpose is to help you identify what your inputs actually do and where a proposed combo fails. The kit descriptions come from the OFA character database; the drills are our analysis of those mechanics.
Before starting, confirm that you equipped Technical Rising, not Rapid OFA. The variant checklist shows the distinction, and the skill guide explains the names used below.
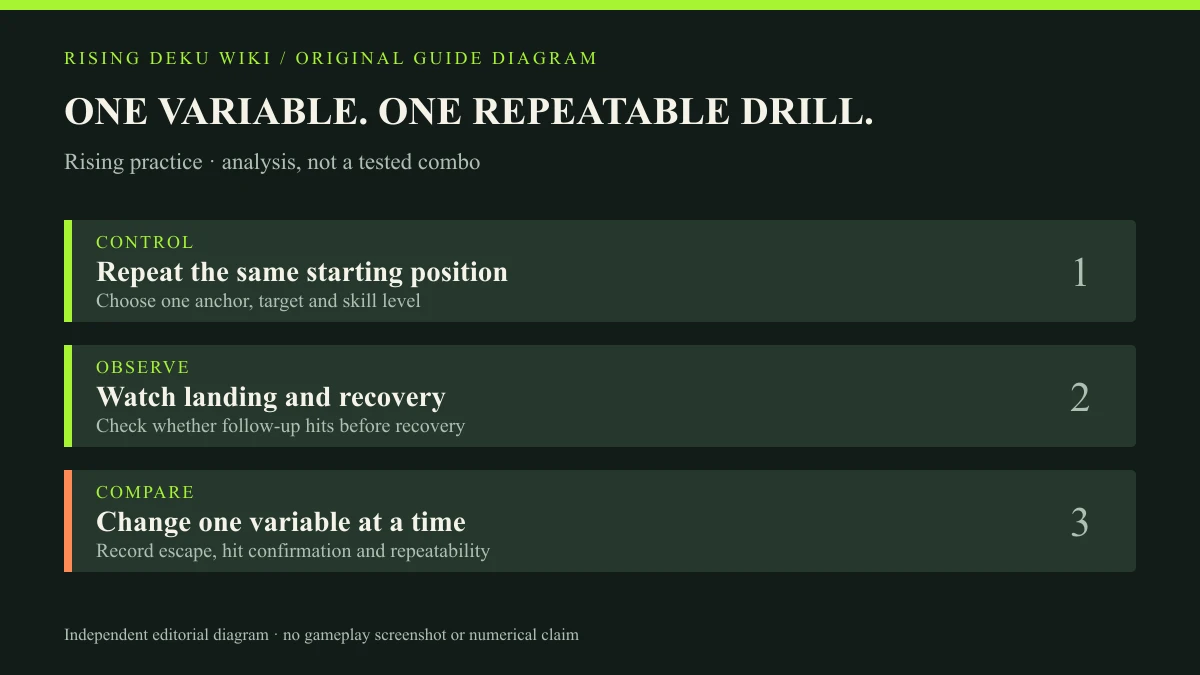
Pass one: isolate the controls
Start without trying to make a combo. Repeat one action at a time so that a change has one explanation.
| Drill | Keep the same | Change and observe |
|---|---|---|
| Alpha terrain anchor | Start position and target surface | Hold directional input, then release it; compare the swing and approach |
| Alpha Aim Mode | Target and starting distance | Compare the enemy interaction with normal anchor movement |
| Beta preparation | Direction and clear space | Compare a shorter preparation with backward-input charging, then practice ending the rush |
| Gamma approach | Target position | Note the reach and where you land after the uppercut |
| Special Action | Control layout | Separate Smoke Screen tap from Fa Jin hold and cancellation |
Use the controls shown by your platform rather than copying another platform’s button labels. If a drill feels inconsistent, first check whether aim state or Fa Jin state changed between attempts.
Pass two: repeat a sequence under fixed conditions
Choose one proposed follow-up, such as Aim Mode alpha into a gamma attempt. Write down starting distance, skill levels, target state and whether Fa Jin is active. Repeat from that starting situation, then change only the distance.
Record four outcomes: whether the opener connected, whether the follow-up connected, where you finished and which skills remained available. A clip of one successful hit does not describe the sequence’s reliability.
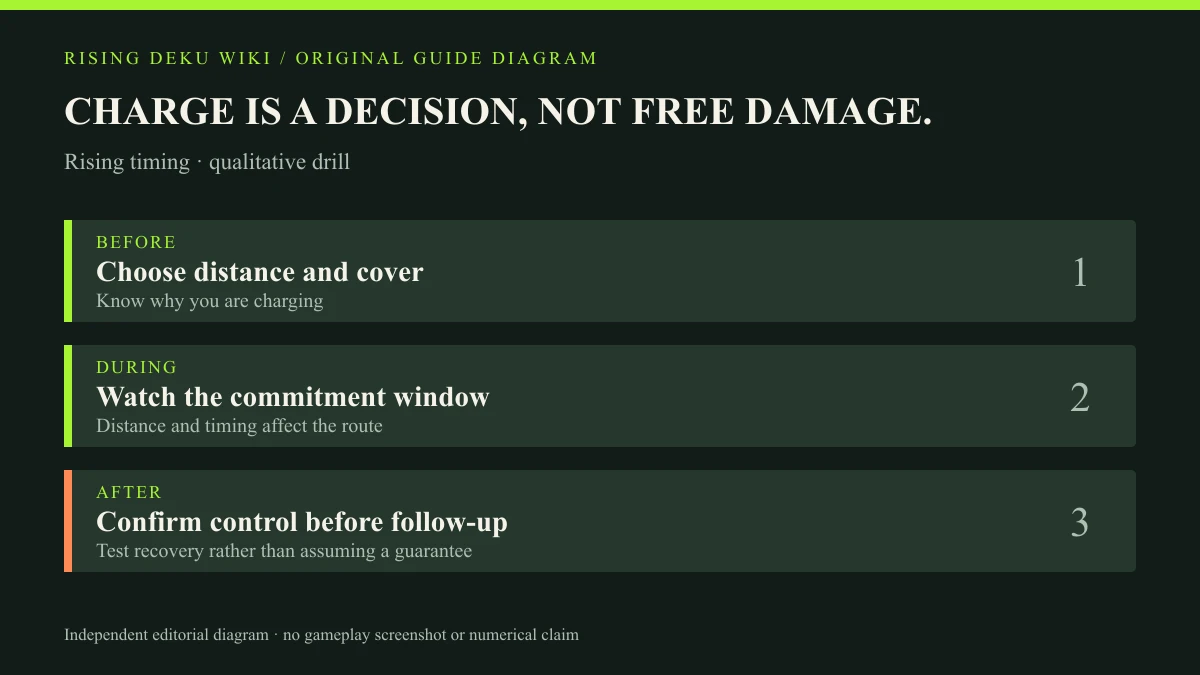
For beta, compare Fa Jin active and inactive attempts as separate sets. With Fa Jin active, you can consume ammunition to charge the attack instantly; that changes preparation timing and is why those results should not be mixed. For gamma’s zero-GP property, isolate that condition too; do not generalize it to an ordinary shielded attempt.
Pass three: test escape and the exit
Where your training setup permits it, have another player attempt recovery or movement between the hits. First test a stationary target, then a moving target, then an opponent deliberately trying to escape. If the follow-up can be avoided, label it conditional pressure, not a guaranteed combo.
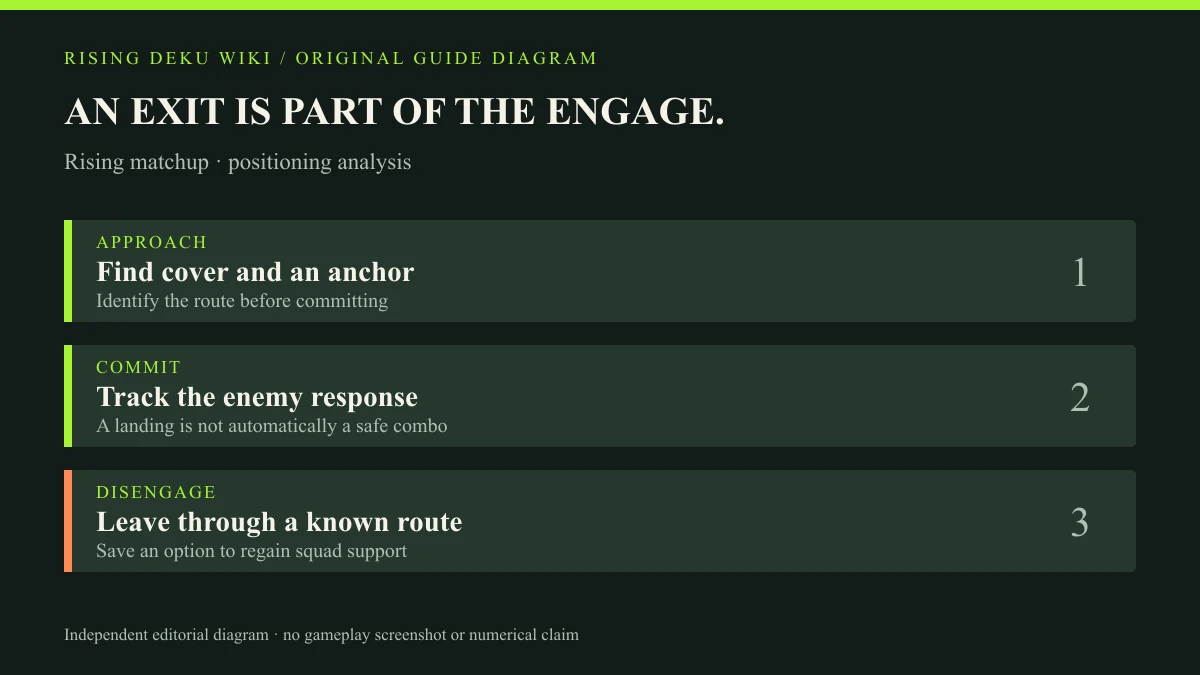
After every sequence, ask where another team could attack you. Repeat with cover nearby and choose an alpha terrain anchor that would provide an exit. Keeping an escape option is a positioning recommendation, not a claim that one particular skill rotation is always optimal.
Compare upgrades before choosing a build
A useful launch-day build question is “which upgrade fixes the problem I am having?” rather than “which level order is best for everyone?” Read the current skill screen for the changes at each level, then compare only that variable in your drill.
- If your movement ends in the wrong place, work on input control before assuming a level increase will fix it.
- If your chosen follow-up fails at a particular distance, compare the displayed level changes and retest that distance.
- If you routinely spend every resource on an approach, evaluate the resources left after the sequence rather than only the damage dealt.
Keep skill-level choices separate from T.U.N.I.N.G or other loadout systems. A video may show several variables changing at once, which makes it a poor controlled comparison. This page publishes no optimal T.U.N.I.N.G set or unsupported damage totals.
Bring one lesson into a match
Use one learned action in a normal match: a controlled terrain swing, a deliberate beta stop or an exit after gamma. Trying to execute every drill at once makes it harder to identify the cause of a mistake. The beginner guide provides the team and looting context around those decisions.
If you do not yet have the style, use the unlock checks to establish an eligible acquisition route rather than spending on a vaguely related banner.
Official visual reference and sources
- Bandai Namco Entertainment America: Rising trailer — official visual introduction, available in the related video below.
- UltraRumble OFA character entry — community descriptions used to design these drills.
Reviewed October 14, 2026. Save your test conditions with your findings so they can be rechecked after a balance update.
Related Articles
characters
Deku Variants in MHUR: Identify OFA Rapid and Rising Kits
Tell base Izuku Midoriya, original Rapid OFA Deku and Technical Rising apart before using a MHUR skill guide, combo video or Roll banner.
characters
Rising Deku Guide: OFA Skills, Combos and Counters in MHUR
Learn the Technical Rising Deku Battle Style in MHUR: Blackchain, Manchester Smash, Rising, Fa Jin, and practical combo and counter decisions.
guides
How to Unlock Rising Deku in MHUR: Rolls and Pool Checks
Check the exact Rising Deku reward, current Roll pool, drop rates and exchange terms before spending tickets in My Hero Ultra Rumble Season 19.
Was this helpful?
Thanks for the feedback!